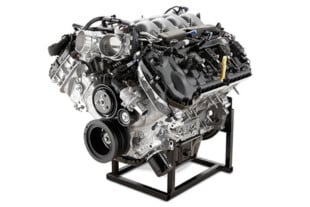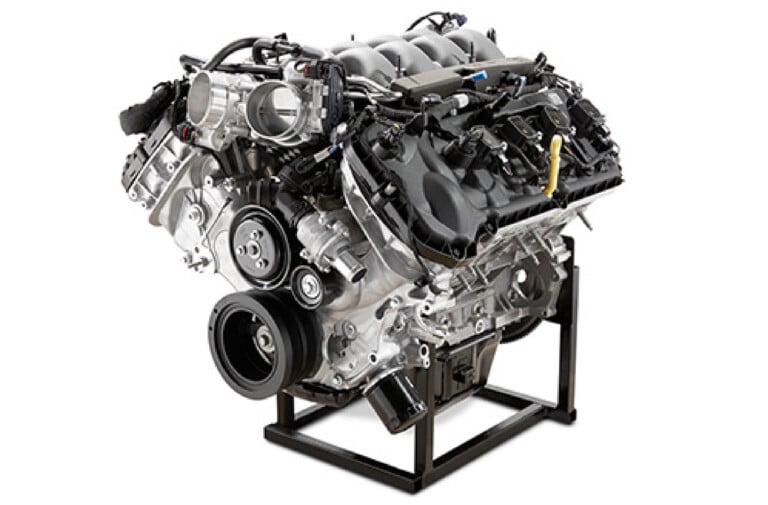
We’ve been following along with ThatRacingChannel‘s YouTube series with Real Street Performance‘s Jay Meagher, where Meagher covers the basics of many different topics related to engines. This episode covers how to measure piston size and the tools required. Meagher’s extensive experience in producing race-winning engines, along with his personal experience behind the wheel of many quick cars over the years, has served him well in Real Street’s endeavors. The tech tips he offers up give the novice an opportunity to understand some common engine-building theories.
“One of the common misconceptions when you go to measure your piston is that the piston will be the same size at the bottom of the piston as it will be at the top of the piston. This is completely incorrect,” says Meagher. “The top of the piston is much smaller than the bottom of the piston. This allows the piston to expand under heat; as the byproduct of the combustion process, the top of the piston grows.”
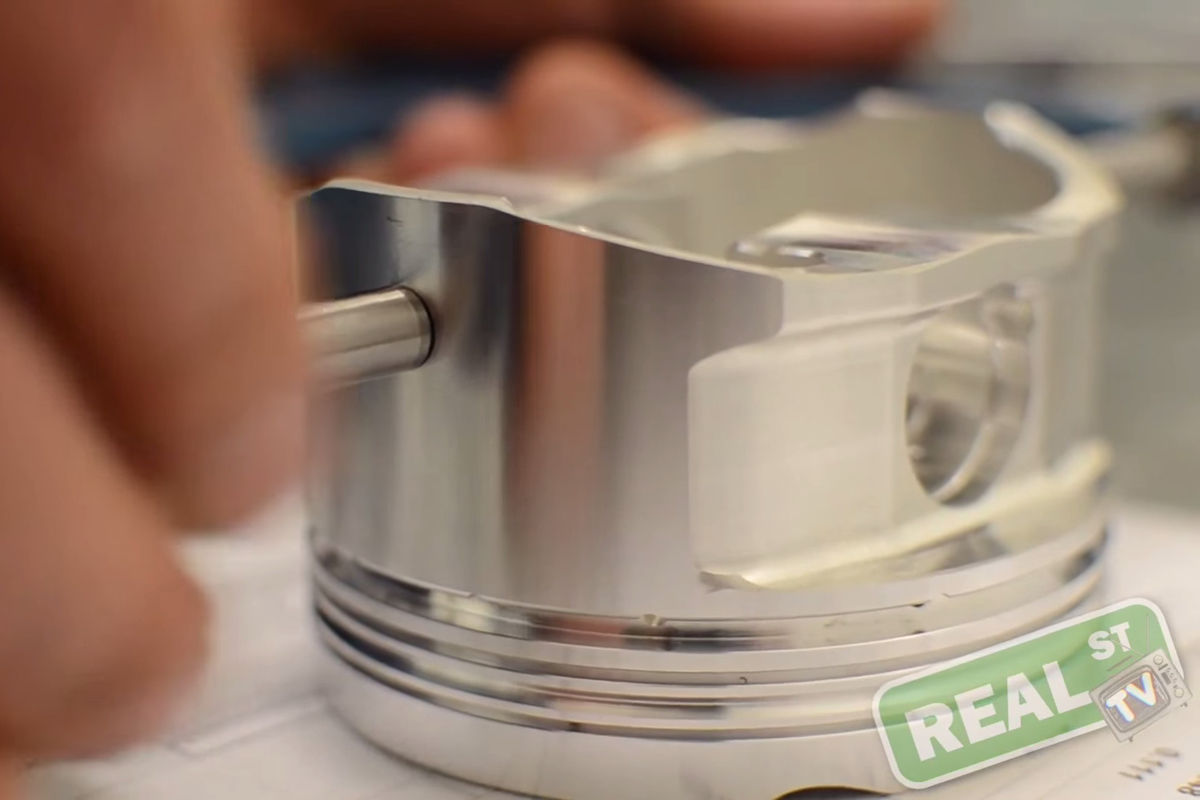 If piston dimensions were consistent from bottom to top, then the top of the piston would grow too much under the intense heat of the engine’s combustion, leading the piston to contact the walls of the cylinder bore and effectively wrecking an expensive engine.
The gauge point is the proper place to measure a piston, which will be on the piston’s spec sheet and varies from manufacturer to manufacturer. A micrometer is the only accepted tool to measure the piston’s gauge point.
There is a reason the piston has a gauge point – because each piston skirt has what’s called a cam and barrel. “The cam and barrel are there to stabilize the piston in the bore, acts as a reservoir to pull oil up the bore, and deal with the amount of thrust that goes onto the piston under the compression stroke,” says Meagher.
Check out the video for more information. Thanks for sharing your tips, Jay!